How to lay parquet floating
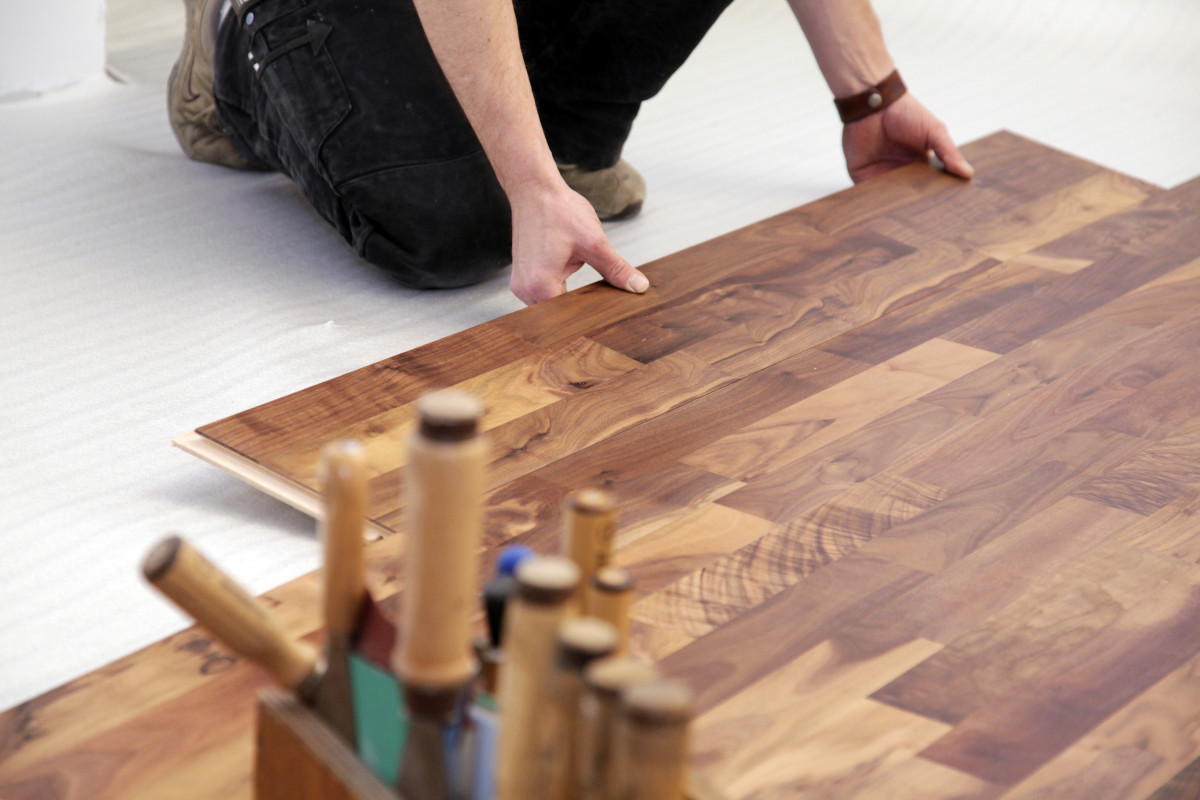
Lay the first row when laying parquet
Prepare carefully before laying your parquet. Before you start laying, take a jigsaw and use it to saw off the longitudinal tongues of the first row of parquet. Only then do you start laying the panels.
- Start laying in the top right corner of the room.
- The cut edges point to the wall.
- If the wall is crooked or uneven, you must adjust the panel to the unevenness of the wall.
- The panels are carefully knocked together with a tapping block and hammer.
- Use a pull bar to pull the last panel together.
Tip: Always keep an even distance of approx. 10 to 15 mm from the walls. To do this, use wedges that you clamp between the panel and the wall. In this way you get a circumferential expansion joint that you can later cover with a skirting board.
Cut panels correctly – you have to pay attention to that
In most cases, the last panel in each row must be measured and cut. A circular table saw is ideal for this work. If you don’t have one handy, use a jigsaw.
- Turn the panel over and use a square to draw a 90 degree cutting line.
- Cut and fit the panel.
- With the leftover piece you can immediately start the next row.
- Make sure that the offset is at least 30 cm if you want to lay in a “random bond”.
Lay parquet in a “wild bond”.
In contrast to laying in a “tidy bond”, laying in a “wild bond” ensures more stability and a more natural look.
- Measure the row already laid and create a new panel.
- Make sure that the offset is at least 30 cm.
- You may need to trim the panel accordingly.
Danger! heating pipes
If you live in an old building, you probably know the problem: heating pipes sticking out of the ground. Still, you need to lay the panel right there.
- Measure the pipe diameter plus 10mm.
- Draw the drill hole on the back of the panel.
- Now saw the panel in a wedge shape and fit it in.
- You can later cover the drill hole with a rosette.
Tip: Alternatively, you can also completely cut through the panel in the transverse joint area and adjust the tubes on both sides accordingly. The two sawn off pieces are then glued together.